Mar 5, 2021
Sashiko Embroidery: Simply Fun!
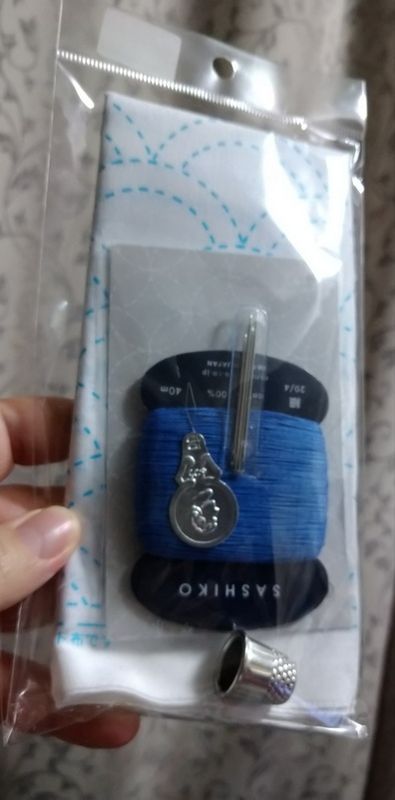
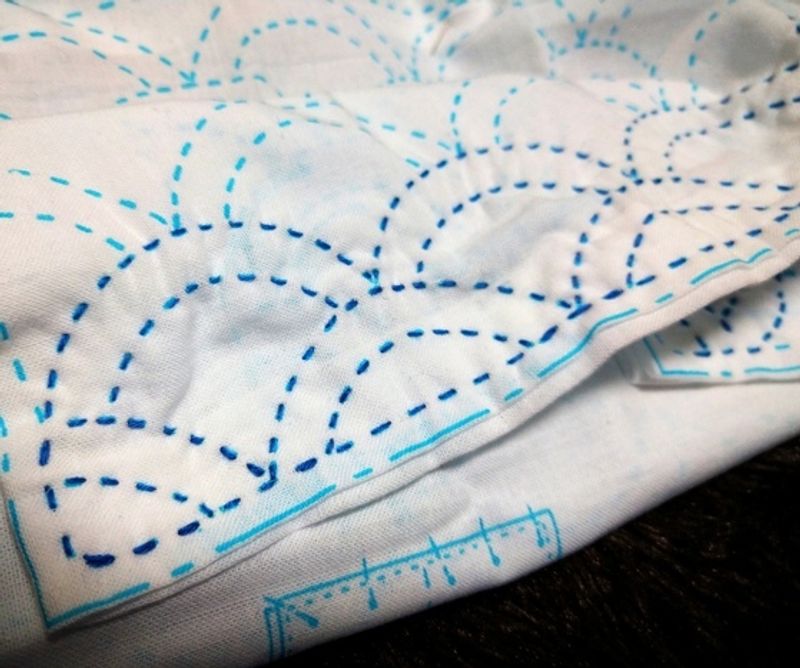
As the craft store near my home was down to its final days, I picked up this lovely sashiko kit which contains the long needles one needs for proper technique, the thick thread in stand-out color (here in the traditional dark blue), fabric printed with the stitch points (this one is white with a traditional fish scale design), a needle threader and a thimble. To my surprise, the inside of the fabric even included some instructions and advice, which was terribly helpful.
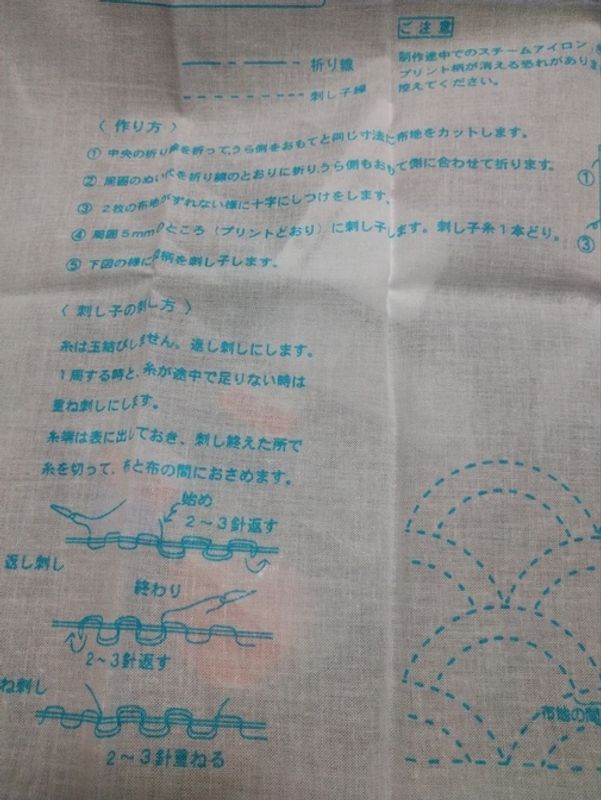
Instructions inside the fabric explain a few points not knotting the thread and stitching over the same stitches a few times instead, a process any sewing machine user should know already even if they don't usually use it in hand stitching. It also says here that the blue marking will wash away, so don't iron, wet, or wash the cloth until you're done with the stitching.

The stitch markers reveal that the stitches themselves are rather long on this beginner's piece. We're not looking at stitches so small that they can be hidden away. These stitches are meant to be seen and the way to do that involves a lot of baste stitching, also known as a running stitch in basic quilting. The thread and the way it stands out against the fabric is one of the more attractive qualities in this craft. The part where it gets hard isn't in making difficult stitches, which is more of a problem I have with other kinds of embroidery, but staying consistent with the stitches you make throughout the overall design. This is a great example of how many small basic things can work together to become something larger and greater. Like every little wave contributing to a great ocean, the stitches in a sashiko design must work together to give us a sense of balance and purpose to the whole.
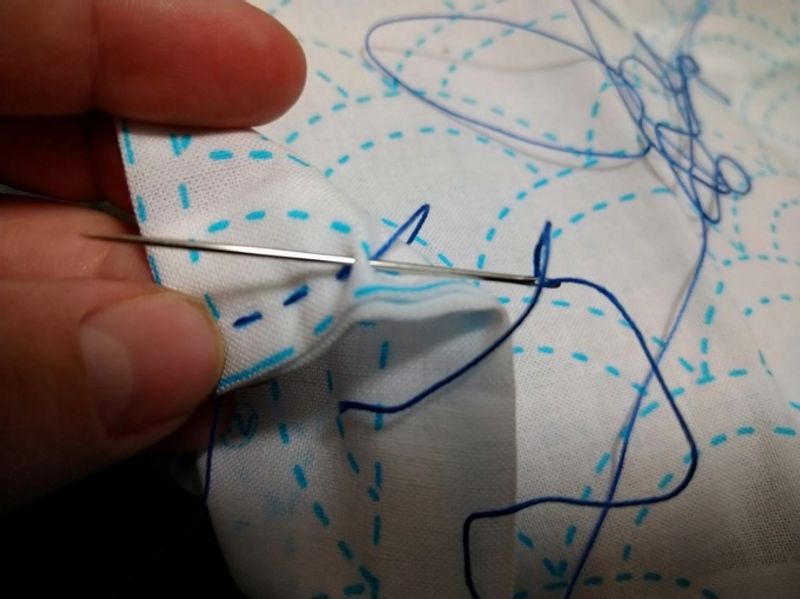
My first stitches in this piece, going back over the first little line to hold everything else in place.
History gives us many ways of turning thread and cloth into something more. From the simple stitches that bring clothing and stuffed animals to life to the complicated thread work seen in masterful tapestries, just a little thread and cloth can go a long way in the right hands.
Almost nowhere does that feel more true to me than in sashiko, 刺し子 or "little stabs", the embroidery used by working-class Japanese folks back in the day. According to Wikipedia, this was mostly done to extend the use of the thin, homespun clothing of farmers and the like back in the Edo period. When patching and quilting the pieces together, some people chose to make the stitching decorative in addition to functional, and a new craft was born. Over time, the practice expanded to include use on fireman's coats to increase thickness and absorption. A few centuries later, sashiko became a way of providing print-like details to fabric for clothing and crafts. Today it remains a more popular and uniquely Japanese handicraft.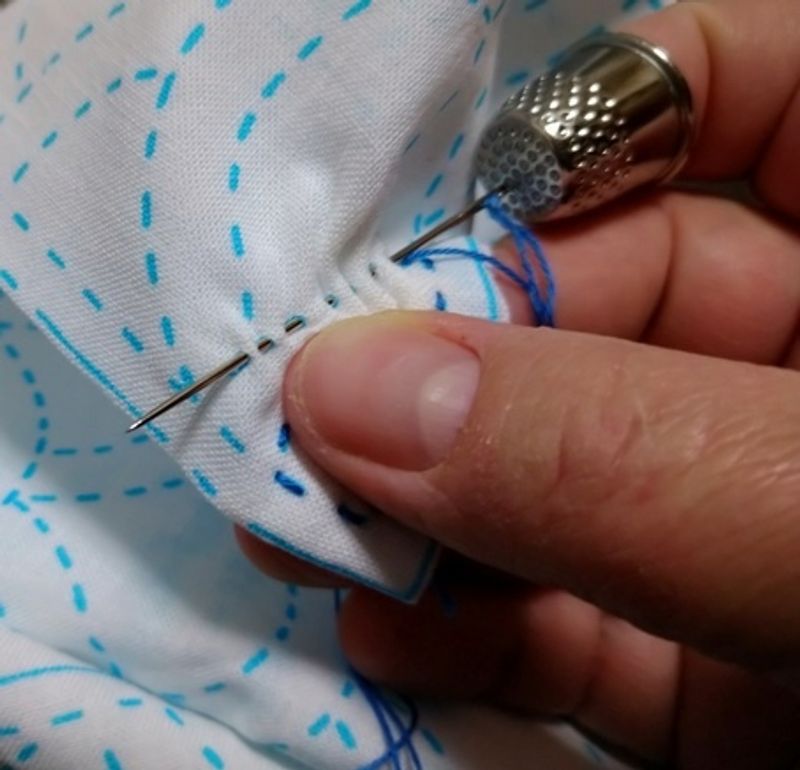
Why the long needle? To get as many identical stitches in a row as a can in one go, of course. This is the way of sashiko.
Most sashiko patterns stem from basic geometric designs that increase in complexity the further you go. One of the most challenging and ingenious things about this craft is that you aren't supposed to knot off the thread, as previously mentioned, nor veer off the printed stitches. Doubling over stitches is okay, but jumping across space is not. Ideally, the front and back of the piece will be inversely identical and free of any knots or non-uniform stitches. For this reason, some sashiko kits even supply a stitching plan to help people new to the craft in finding a way to make the design happen without breaking those rules.
The beginning of a much longer journey. Just imagine what it will look like without the light blue!
Amateur sashiko folks online may suggest denim and it fits a similar color to the old historical indigo dyes and is one of our current common cloth options most frequently in need of mending. The problem is that for traditional sashiko, the cloth should be lighter weight and looser weave than denim tends to be. That said, applying a clever sashiko pattern to a damaged space on a pair of jeans to provide decoration while extending the use of the garment feels right in line with what the people who invented it would want it to be used for nowadays. It's okay not to be aiming for replicating the exact practice from olden times, but it might be good to start with the traditional form and move up to applying it as you see fit.
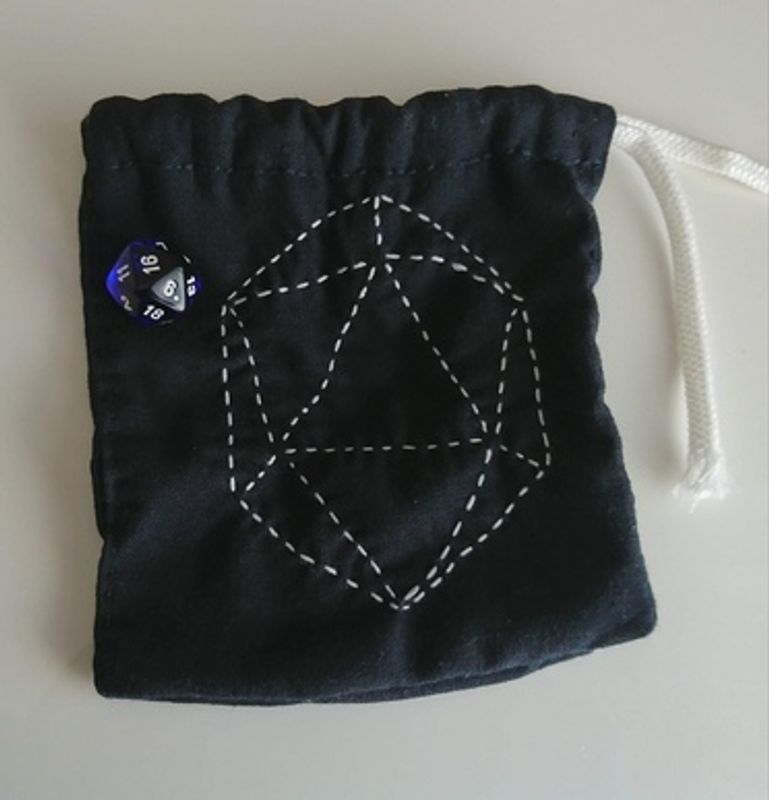
A sashiko polyhedral dice bag I made a few years ago. There's nothing saying you can't apply this technique to something else you love, but I recommend using loose-weave sashiko cloth for these projects.
Books on sashiko are available online in a variety of languages, and the patterns only involve simple stitches, which make it easy to start on and enjoy even if you're not automatically gifted with stitching perfection. You can also combine this technique with other, less traditional designs to create something unique and fun.
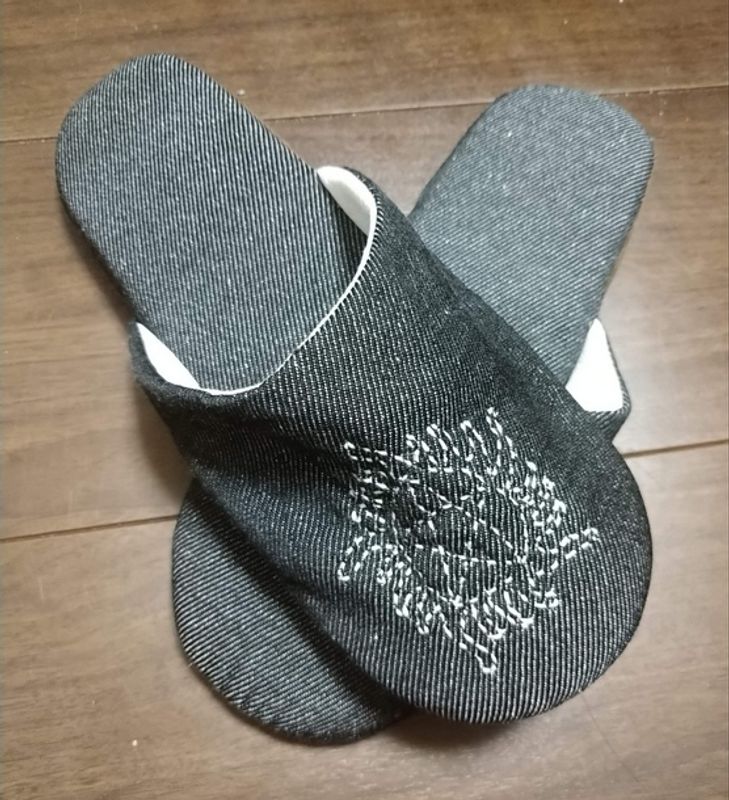
These were much harder to stitch but no one will see the backwork.
If you're in the mood for a hobby that only involved repeating the same simple task in a specific pattern for beautiful results, check out sashiko!


2 Comments
edthethe
on Mar 5
sashiko is the it thing in crafting stores these days
JTsu
on Mar 5
@edthethe It is kinda perfect for lockdown -- mend something, not too much focus or skill required to start, final product that could be useful and beautiful. I get it.