Feb 13, 2017
DIY Nama Chocolate, Vegan Nama Chocolate, and Nama Tart
I'm a bit of a 'why buy it, when you can make it' kind of person. It's part of my upbringing, you see. When I was young I always thought everybody made their fancy dress costumes because my mum made costumes for all four of us kids. I was shocked when I found out that it was only my mum that did that. It was the same when I went to university. Everybody was so surprised that I could cook and bake. Mum and Nan taught us cooking and baking, Dad did on a regular basis as well. They always taught me that if you can make it, then you you don't need to buy it. It's cheaper and a safe survival mode. I do that with everything, and living here I have learned it's even more important.
With Valentine's Day coming up, I've seen lots of shops saying to buy this chocolate and that chocolate. It's actually quite expensive. I found that it's cheaper to do it yourself. You can buy decent cooking chocolate here, and cream, and if you've already got the chocolate molds or a baking tin, then do you really need to buy it? After all, Nama chocolate is not really all that time consuming for the hustle and bustle of Tokyo.
So I've already made my Nama chocolate for this year. It's ready to go into work tomorrow. I thought that I'd share the recipe with you. Oh, and I've thrown in a DIY Nama chocolate tart for dessert as well.
Nama Chocolate
This recipe takes 30 minutes to prepare and cook. It can make a lot of chocolate. It can be halved. Note that all items must be very dry, or the chocolate will seize.
400g (14oz) dark chocolate at 70% cacao or semi sweet chocolate
200ml heavy cream with 38% fat
cocoa powder
1) If you don't have a mold, then line a 8"x8" baking tray with baking paper.
2) Finely chop chocolate.
3) Put cream into a small sauce pan. Almost bring it to the boil, and remove it from the heat just before.
4) Add the chocolate to the cream and stir until completely combined. Spoon into the chocolate molds, or pour into the baking tray and refrigerate for 4-5 hours, or until your ready to serve.
5) Remove the chocolate and take out from the tray. Use a warm knife to cut the chocolate. Clean the knife In between each cut, or the chocolate will break.
6) Sprinkle cocoa powder. I for some reason, never do this.

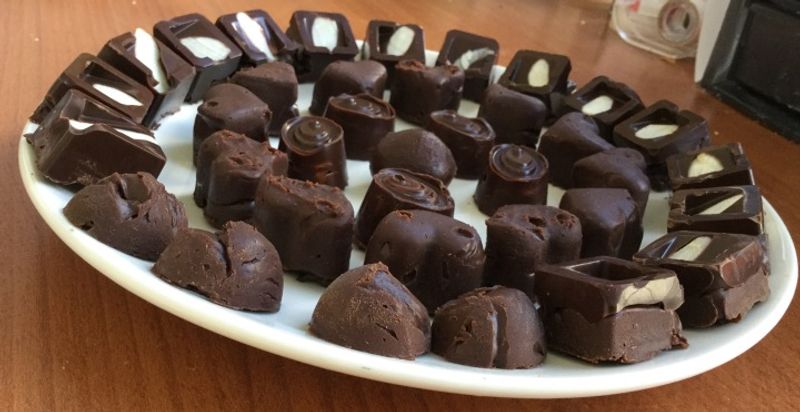
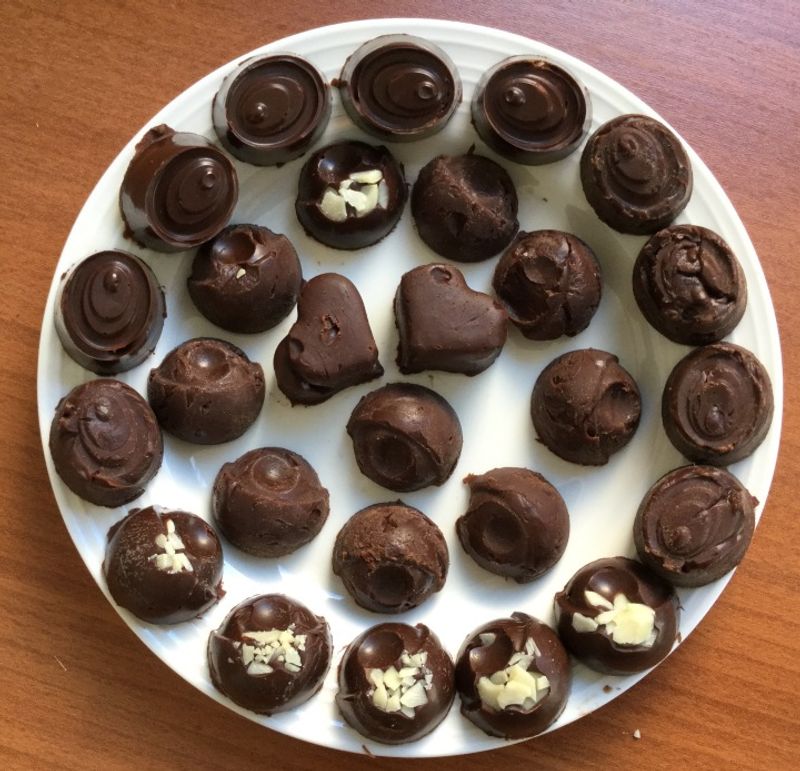
You see! Super easy! Although, as you can see, I'm a bit of a show off. Some had almond fillings, some had double layers, some almond toppings, and some had a chocolate shell with Nama filling. I simply melted some chocolate before hand, and made the shells by adding a good dollop in the base of the mold and mixed around the edge with a plastic chopstick and added the crushed almonds and refrigerated it before adding the Nama chocolate. For the almond layered ones, I placed the almond in, added a layer of chocolate in and refrigerated before add the second layer.
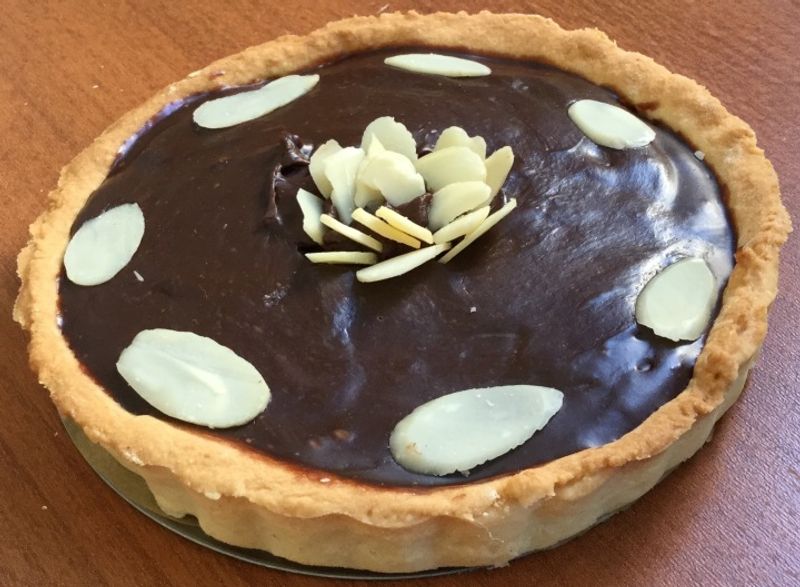
Now then, if you wanted to be a bit more fancy, then have you considered making Nama chocolate tart? If you have time to make some pastry a little earlier, then it shouldn't be a problem.
Sweet Pastry
Again, this can be halved. If you want vegan pastry, then most organic shops sell vegan butter.
225g / 8oz plain flour
pinch of salt
100g / 4 oz of butter
2 1/2 tablespoons cold water
2 tablespoons of sugar
1) Mix all the dry ingredients together.
2) Add butter and bring it together to make breadcrumbs.
3) Add water.
4) Bring to dough.
5) Wrap in cling film and refrigerate for 20 minutes.
6) Grease a round baking tin. Cut a sheet of baking paper for the bottom and place it inside.
7) Remove dough and sprinkle flour on the table and on top of the dough to stop it sticking to the pin. Roll out the dough to the size of your time and place and press it into place. Cut to a little bit bigger than the edge size, because the dough will shrink a little. Prick holes in it with a fork to help baking. You will need to weigh it down with some baking beads.
8) Bake to tart case for 20-25 minutes at 180 degrees. Keep watch on it. You don't want it to burn. Just a light golden brown is good.
9) Remove from oven and allow to cool before adding your Nama chocolate mixture.
10) Add the Nama chocolate and decorate. Then refrigerate for 4-5 hours.

Now for dairy allergy sufferers like myself, it can be a little tricky to get hold of dairy free cream. So this is the alternative.
Vegan Nama Chocolate
Again this recipe can be halved.
300g / 10.6oz vegan chocolate
300g / 10.6oz silk tofu
2 tablespoons maple syrup
Some rice flour
1) Drain the water from the tofu. Try to drain as much as you can. Mix until smooth.
2) Chop the chocolate into small pieces. Boil water in a small pan, and place two thirds of the chocolate into a metal bowl (this will help tempering) and melt over the heat. Remove from the heat and add the remaining chocolate. Mix until smooth.
3) Mix chocolate, tofu, and maple syrup together. Add rice flour if the mixture is too runny.
4) Line a baking tray with baking paper. Pour the mix into the baking tray. Allow to cool and then refrigerate for an hour.
5) Take out and cut into pieces. Keep refrigerated.
Note: You may not want to use all the tofu. It will make a slightly firmer fudge that still tastes great!

So that's it!
Check out the video that I also made for last years Nama Chocolate.
And remember....

A twenty year old something, who came to experience working life and travel in Japan. What will she experience? What will she see? What will she do? Find out in this amazing travel blog and Jvlog!
That was the ORIGINAL tag line. Now I have left, but will continue updating.
Facebook
https://www.facebook.com/smallgirlbigjapan


2 Comments
DaveJpn
on Feb 13
Great post! These look delish!
smallbigjapan
on Feb 15
Thank you. @DaveJpn