Jun 4, 2020
Family Fun with Cardboard Castle Construction
As the past few months have seen many of us would be shoppers confined mostly to our homes, many online shops that offer shipping have prospered and many homes have received countless packages as a result. This adds up to a lot of cardboard boxes littering the house while occupants wait for recycling day to come. In the mean time, many of us with kids have struggled to find fun activities to do in the home during the recent bout of hiding from the pandemic. While schools are starting up and life is starting back to normal, many of us still have a lot of cardboard lying around and some kids still have extra time for a fun project or two. Here is one way my family took care of the cardboard and the boredom all at once. It turns out that with a little ingenuity, markers, heavy duty scissors, and packing tape, you can make all sorts of fun structures.
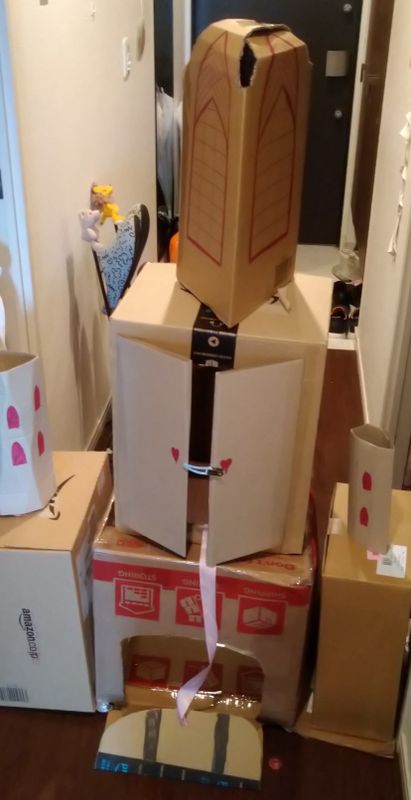
We made a castle.
Gather Materials
It is important to use clean cardboard, not grease soaked pizza boxes that could leave a bad smell or cause a rash on sensitive skin. Even with my kid's skin, which is much more sensitive than my own, we found normal packing boxes to be fine for this project. Larger boxes can be used for the core structure while smaller ones can make decorative auxiliary buildings or other accessories.
Let Them Lead
It's more fun if the kids get to make some choices here. Especially if you're in a long-term indoor situation, it's better to let your kid control something, even if that's just which box goes where. I am not advising letting them run with scissors unsupervised, but working together on this sort of project usually works best.
This reinforced seam in the main box helped hold up the structure.
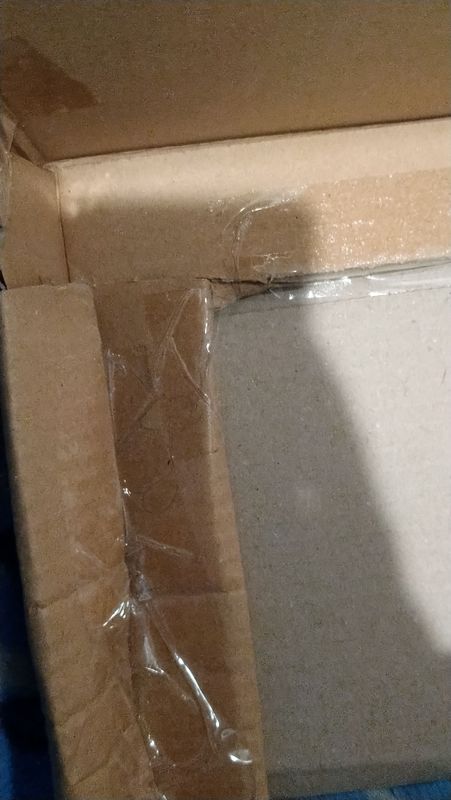
Reinforce the Seams.
Our core box was positioned upside down so that the flaps from what was once the top could be positioned under the auxiliary buildings for increased mobility. We then cut holes in the new top, front and back, in each case leaving a border of a few inches all the way around for support.
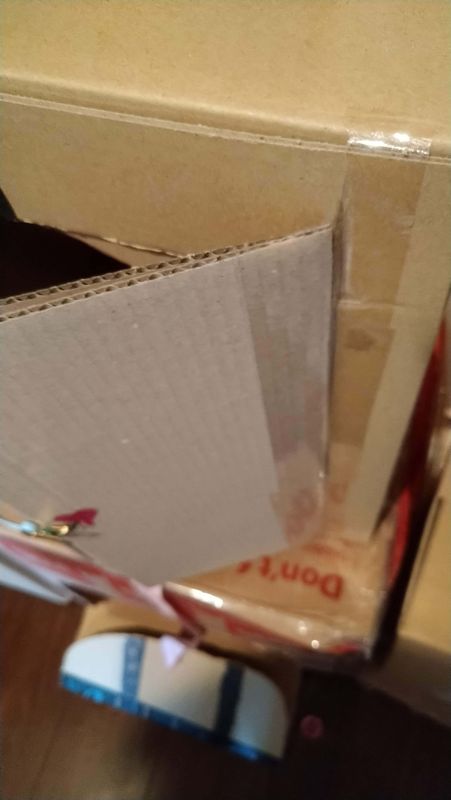
Instead of just cutting all the extra parts free, I made a few cuts in the middle of each and wrapped the unneeded portion around the structure to add more support before taping it in place.
The upper box was treated in a similar manner, and it would have been easier to just use the top and bottom of the box as the front and back, but that isn't how it turned out. I wound up cutting out what would become the front in such a way that doors had to be attached separately, using those flat bits of cardboard that Amazon purchases so frequently come shrink-wrapped to. I folded two of those in half and taped one to each side to make the doors.
The doors, hinged by use of packing tape on each side.
Add Accents and Play.
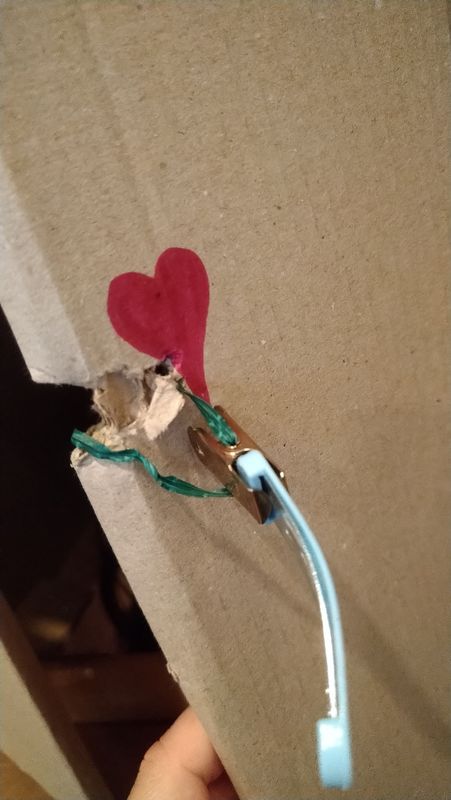
Our castle could have used more color via markers and construction paper but my kid was happy with it all the same. We used a twist-tie and hair clip to make the almost functional closure on the shutter-style doors n the second level and a length of ribbon to control the draw bridge. A feat of engineering it was not, but still a lot of fun was had.
In the course of the week that she had it, the little castle became a shop for a short time before transitioning into the set for a series of short videos for specific family members back home.
Say Goodbye.
One of the best things about this kind of project in a space-conscious place like Japan is that it is meant to be destroyed. Making a project like this with more solid materials means having space to keep it in long term, which many families in Japan just do not.
On the day we needed to take it down, she helped me clear it out before we thanked it for its service. She then started putting away all the toys she had put inside the different compartments while I went about cutting free all my taped supports and refolding them to fit inside of one of the most structurally sound boxes. Knowing we can still let this go and be recycled further is a great way to make the most of our resources.


0 Comments